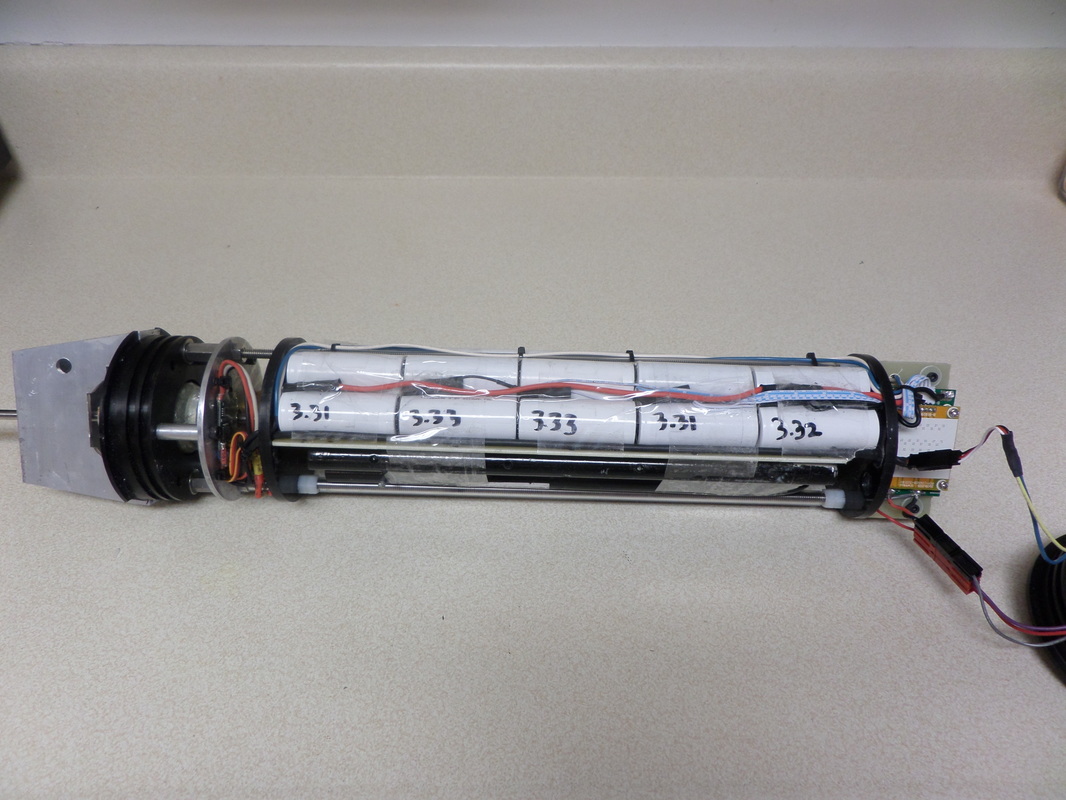
With the power system more or less figured out, it was time to move all these components from the test bench to the actual boat. It sorta looks like a bomb, but don't worry, it's not. In the picture below, going from left to right, you have:
- aluminum bracket on the rear of the thruster pod for mounting to the rear strut (the vertical member that connects the thruster pod to the boat hull). The aluminum is electrically isolated from everything else to prevent corrosion
- black delrin thruster pod end cap (no change from the old thruster)
- aluminum thruster motor mounting plate, motor, belt drive, electronic speed control (no change from old thruster)
- battery pack... those white cylinders are 25 cells, 5 in parallel X 5 in series. I will eventually have a total of fifty. Below the battery pack is a bunch of steel bars for ballast. It turns out the thruster pod is going to need a lot of dead weight to make it act as a keel.
- at the right, the battery charge controller and DC/DC switching regulator. The regulator is to bring the 16 volts from the battery down to 5-7 volts for the motor. The idea is that it's more efficient to use a dedicated regulator (which is >90% efficient) to bring the voltage down BEFORE the electronic speed control, so that the speed control can operate near 100% throttle. The voltage needs to be brought down to get the motor to spin slow enough to use a large, slow-spinning propeller. The study of direct drive vs. gear drive vs. belt drive, high voltage vs. low voltage, and a myriad of other factors, has been both frustrating and enlightening. Who knows if I have settled up the "right" configuration. I think I'm close, though.
- hanging off the right end of the picture is the other thruster tube end cap with a homemade, waterproof bulkhead connector
Surrounding all this will be the thruster tube itself, which is just a piece of PVC pipe.
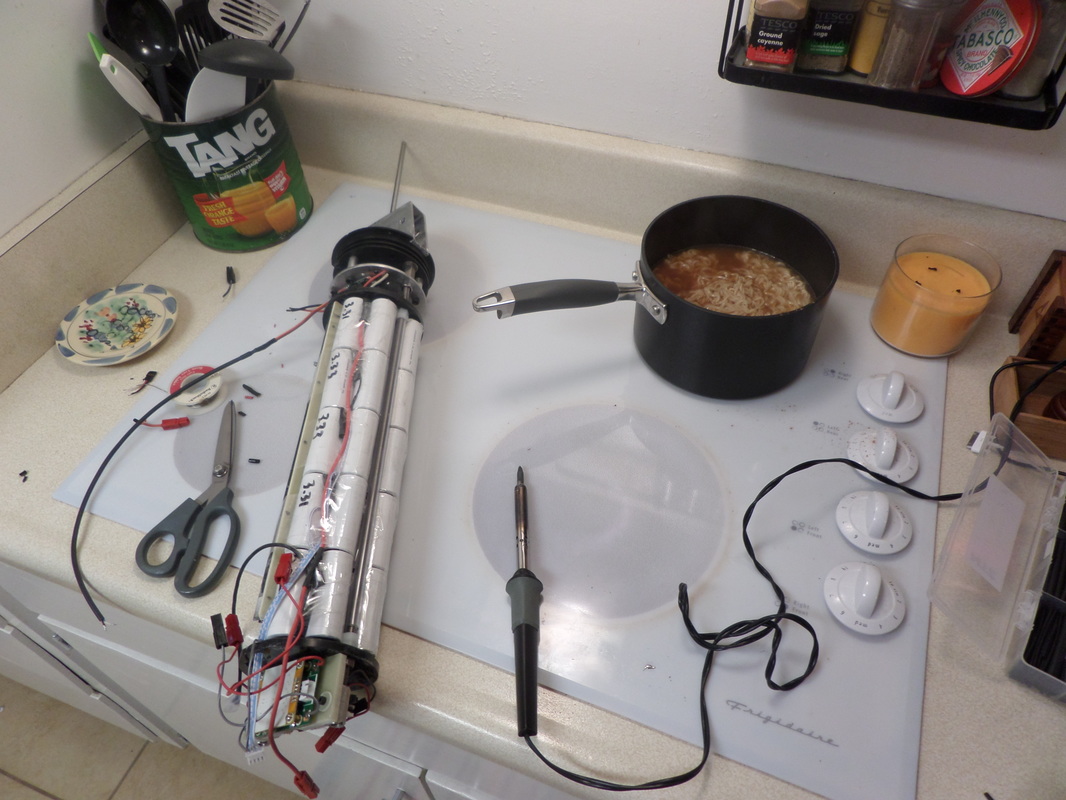
Now, if anyone out there is wondering why it takes so long to do a project like this, let me remind you that there are other, far more important things competing for my time. I present as evidence this photograph of me soldering on the stovetop while cooking Ramen for my kids. I'm not sure which is more dangerous: having a burning hot pot right next to a burning hot soldering iron surrounded by power cords and huge batteries, or eating Ramen. Probably the Ramen. Usually the kids eat better, trust me.
 RSS Feed